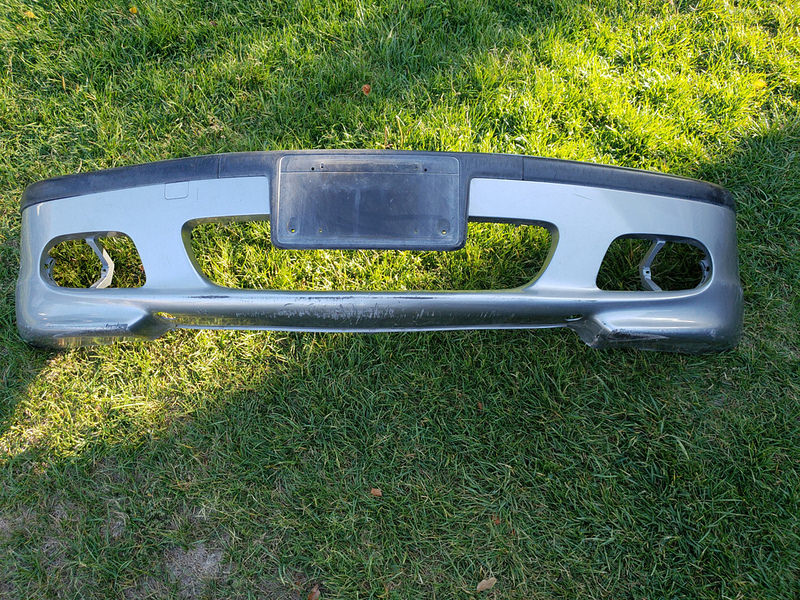
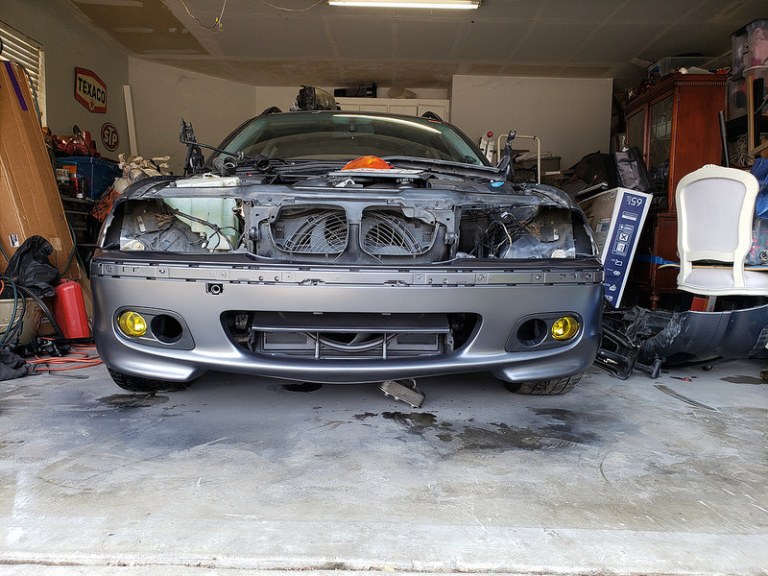
Hey there Guys and Gals and again… welcome!… to another write up here on FJD Performance. Today we are going over our ZHP bumper restoration project that took place over the last couple of months.
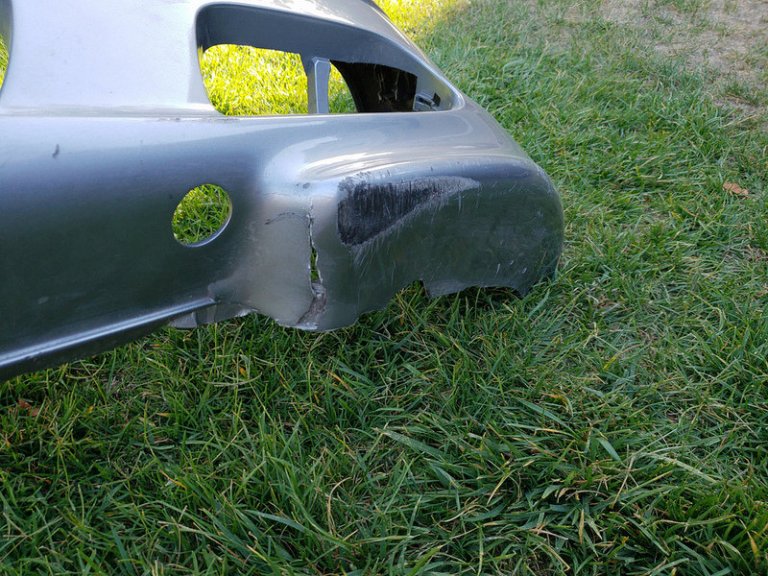
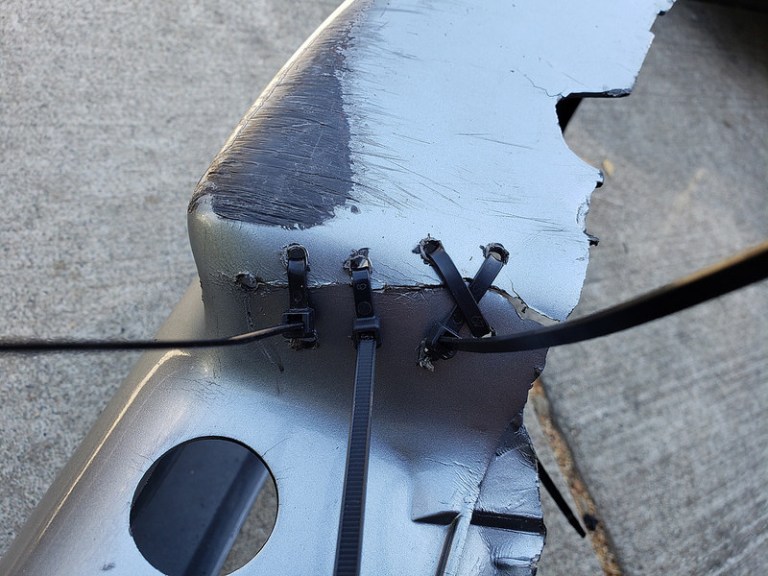
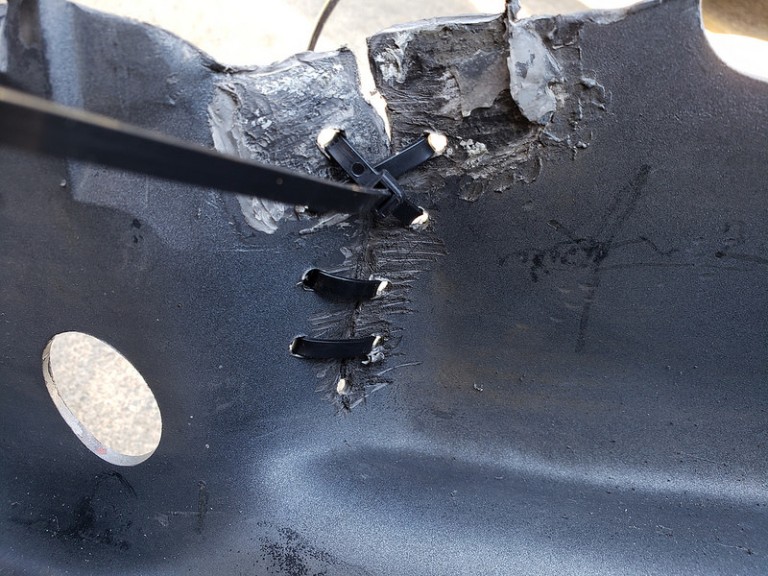
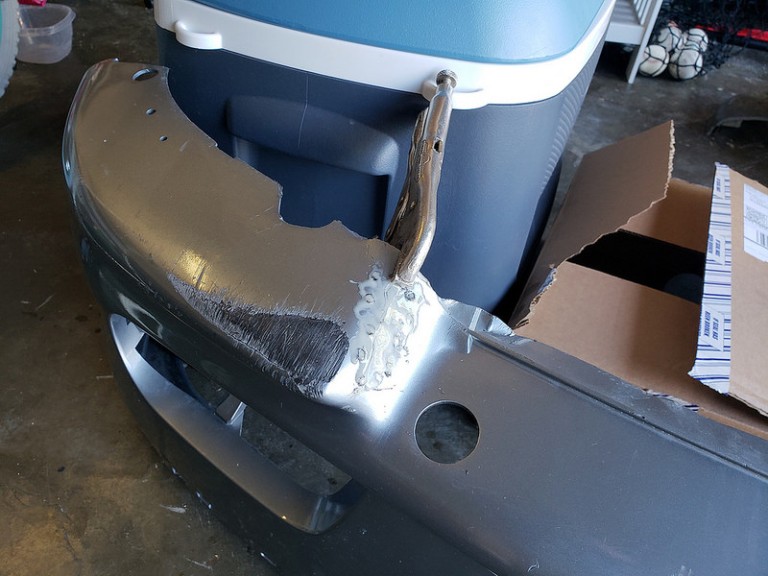
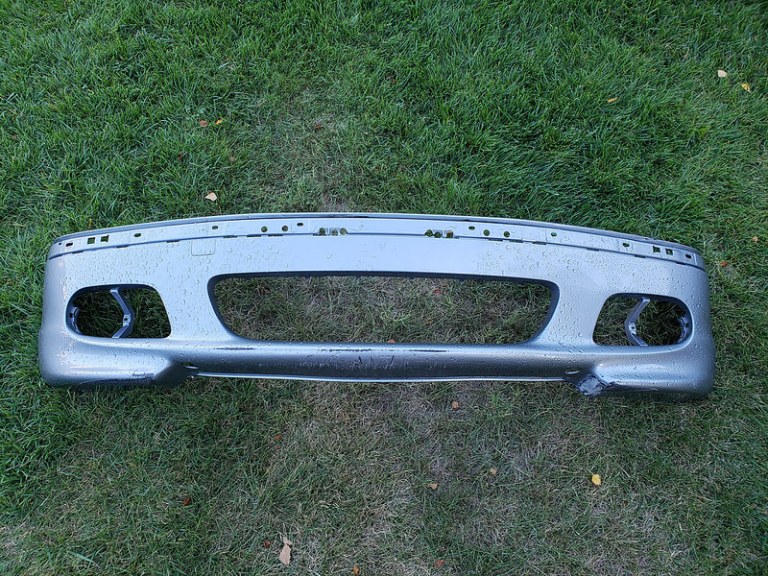
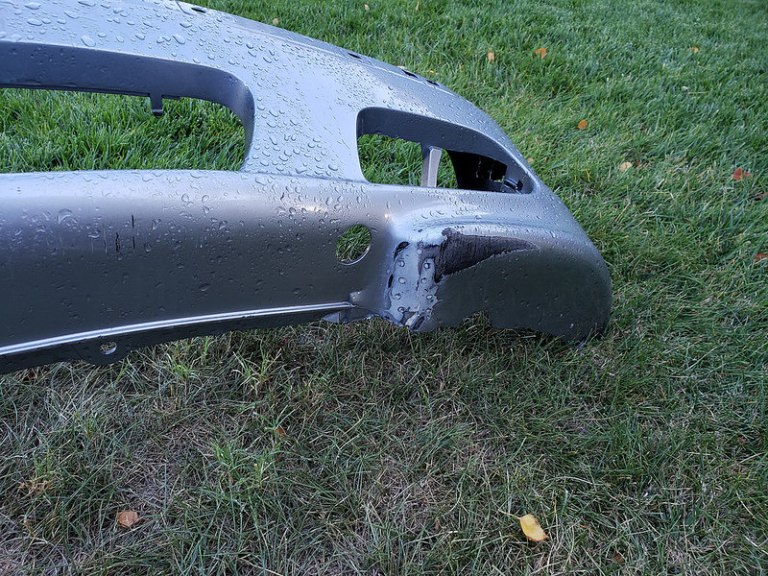
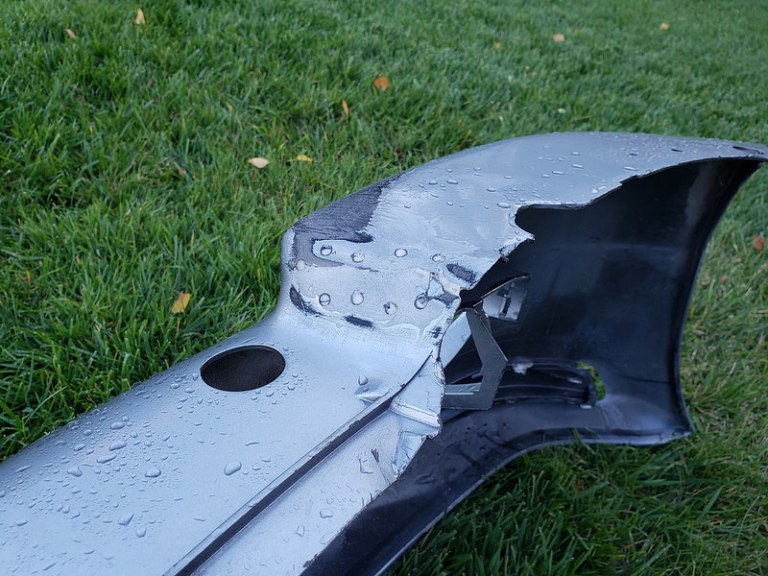
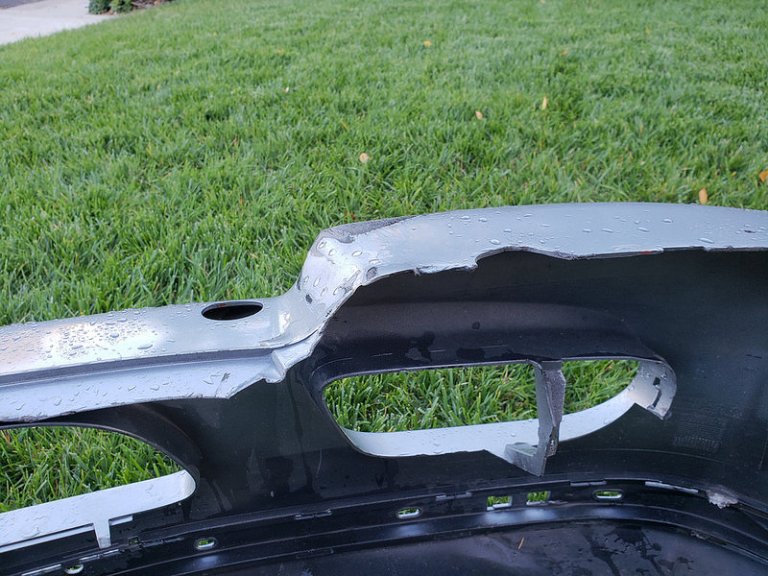
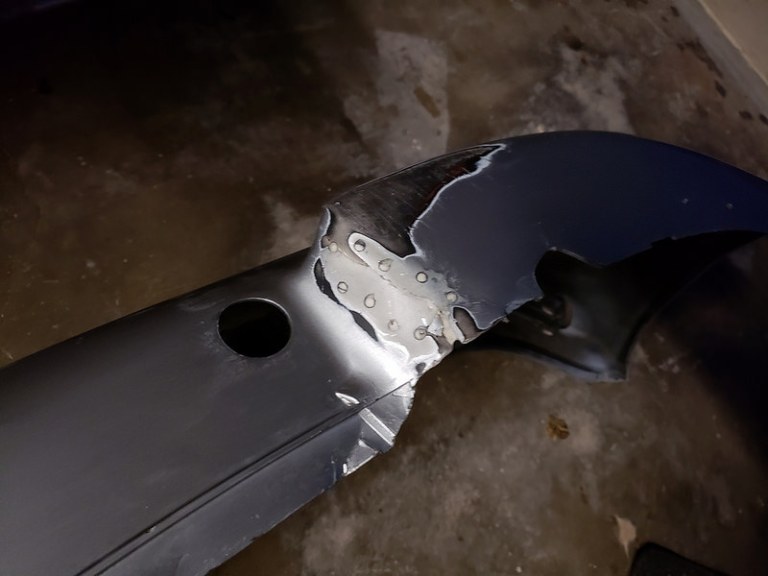
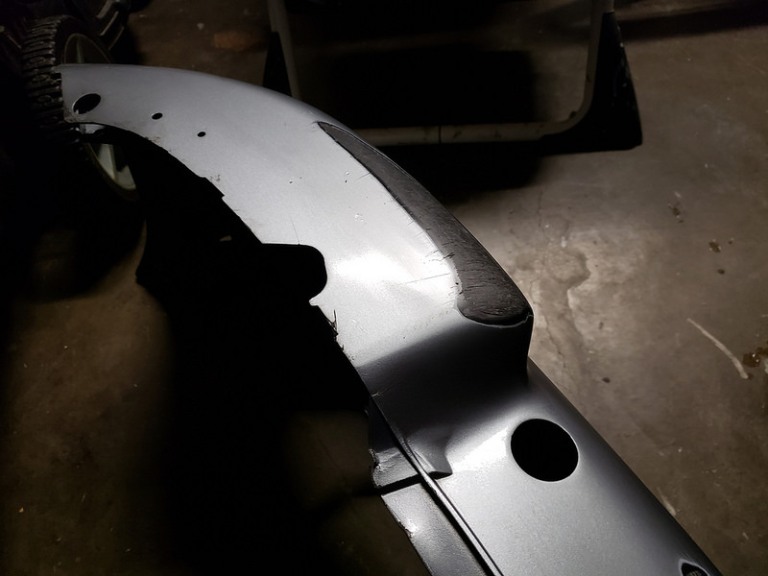
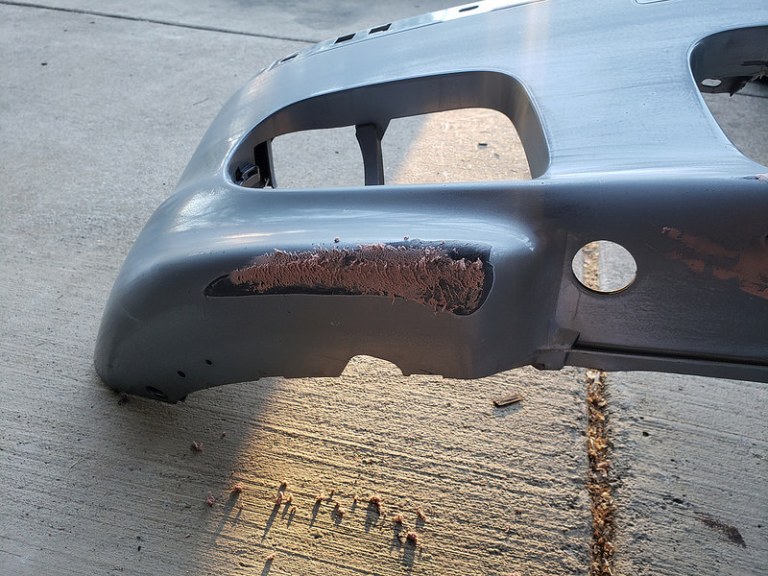
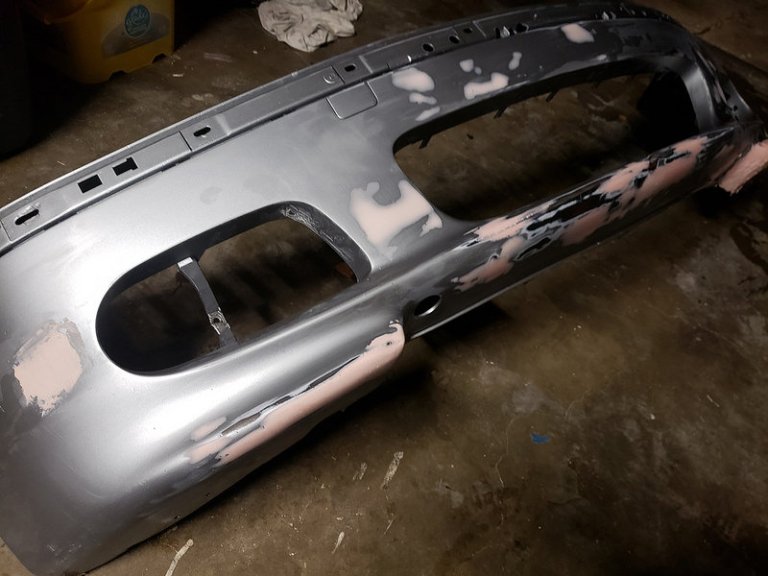
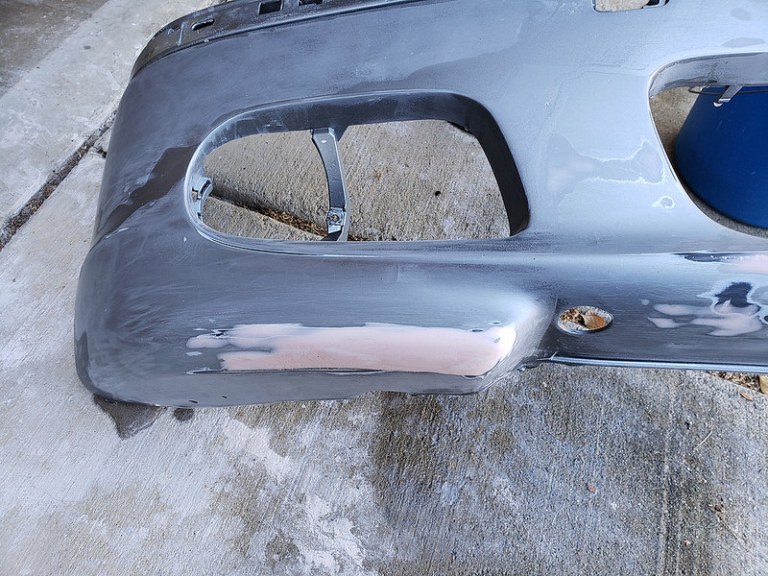
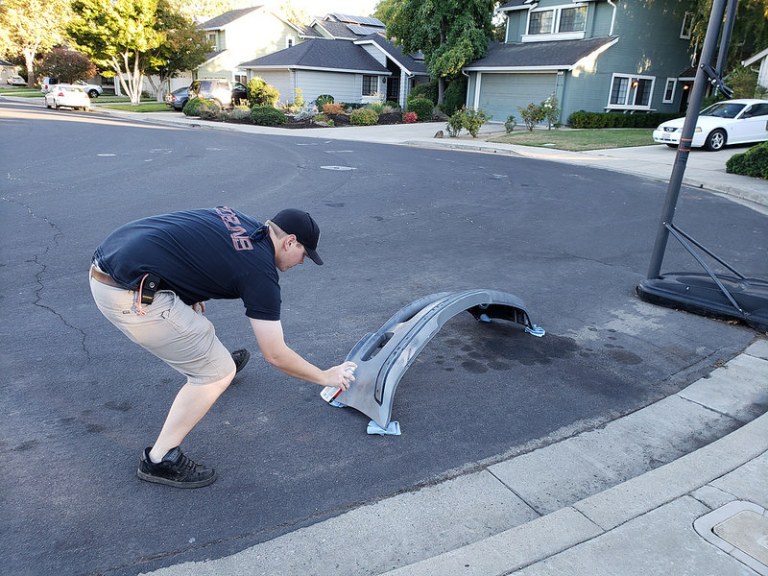
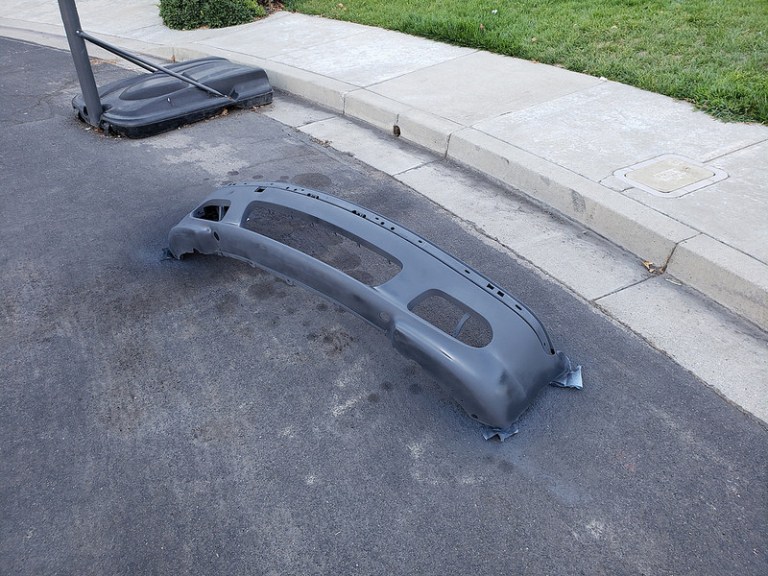
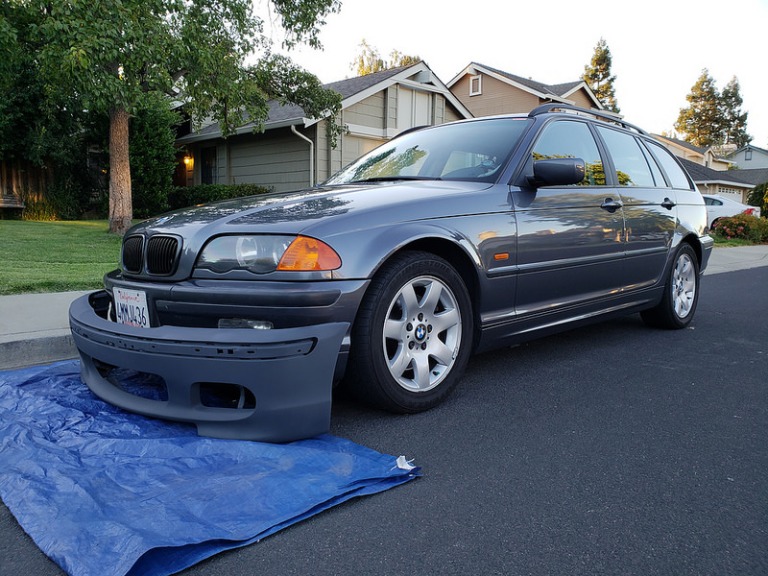
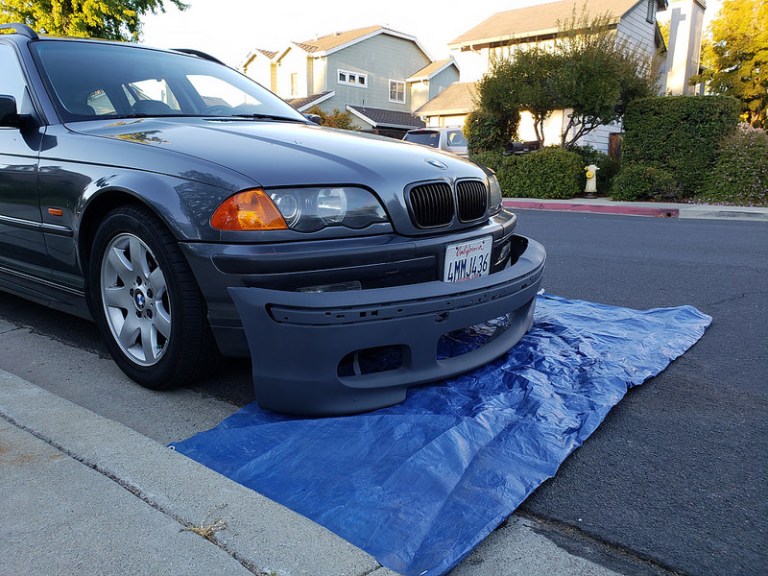
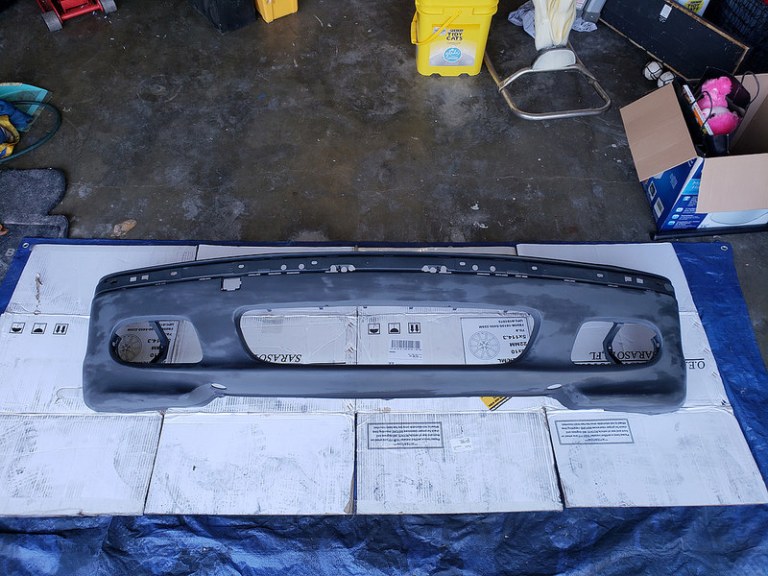
Roughly in mid September we had picked up an OEM BMW M Tech II sedan bumper off the list of Craigs for a whooping 50 bucks! What a steal! Especially since these are about 500 bucks brand new from BMW. The bumper had your typical wear and tear from being driven, but also has some gremlins as there were huge gashes under the bumper and a crack from SF hills, streets, curbs, pedestrians and probably small animals too.
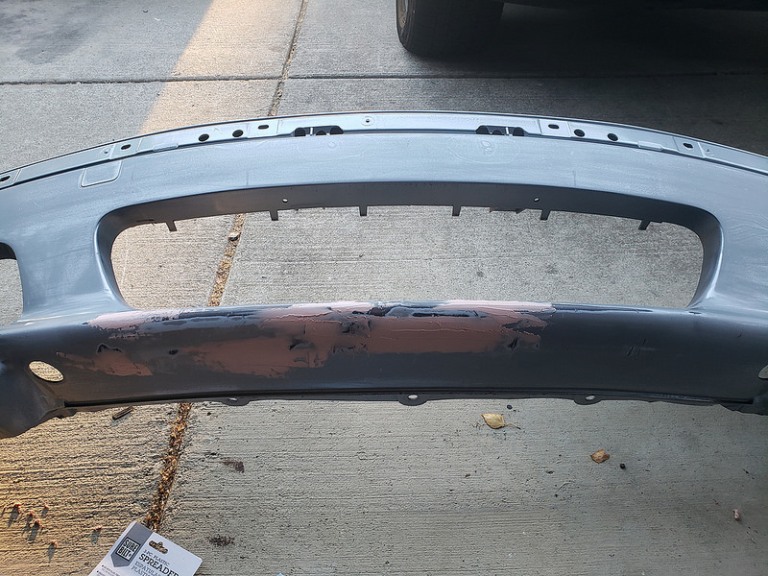
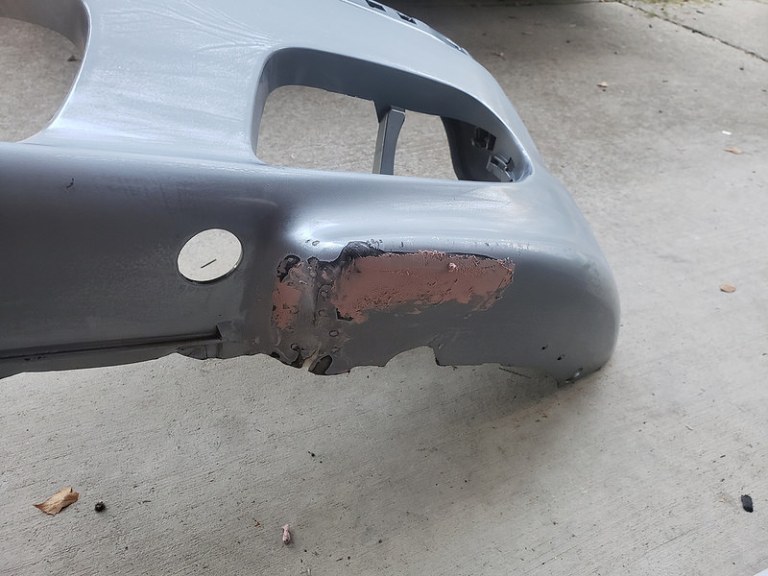
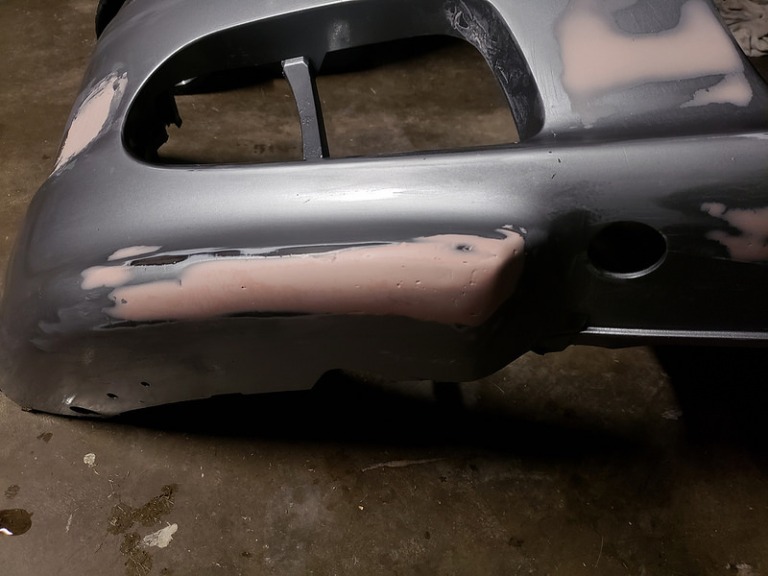
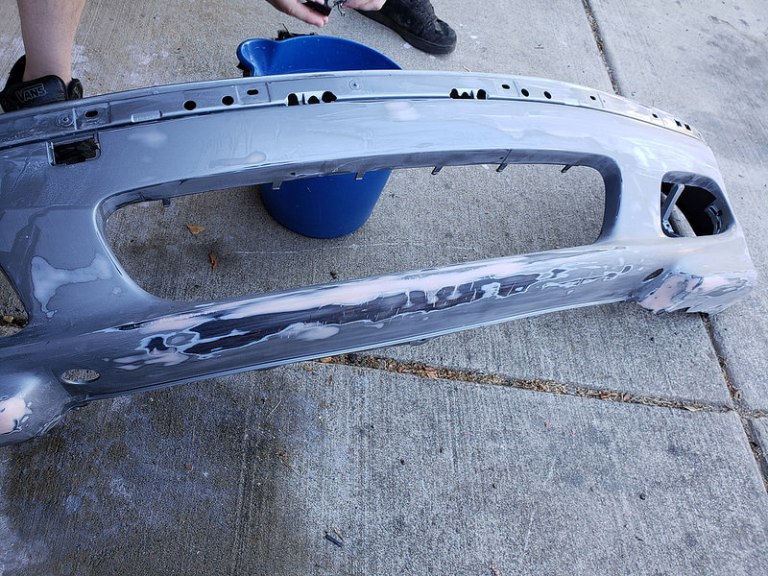
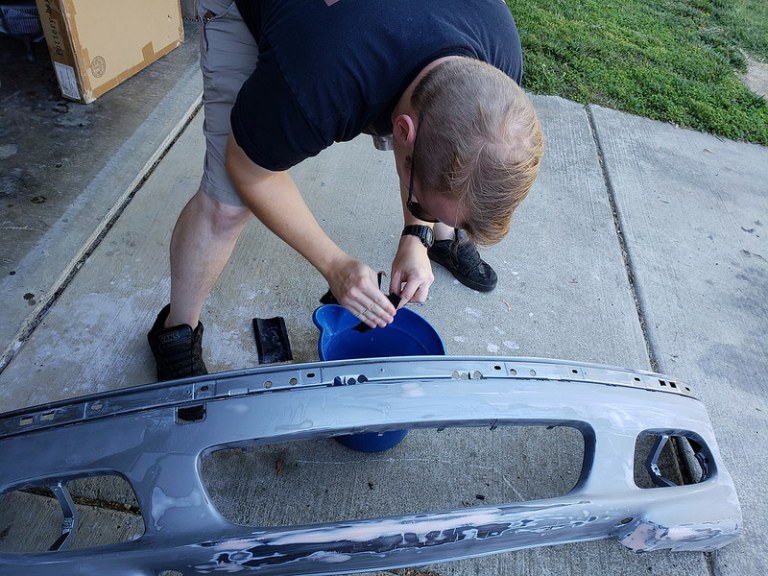
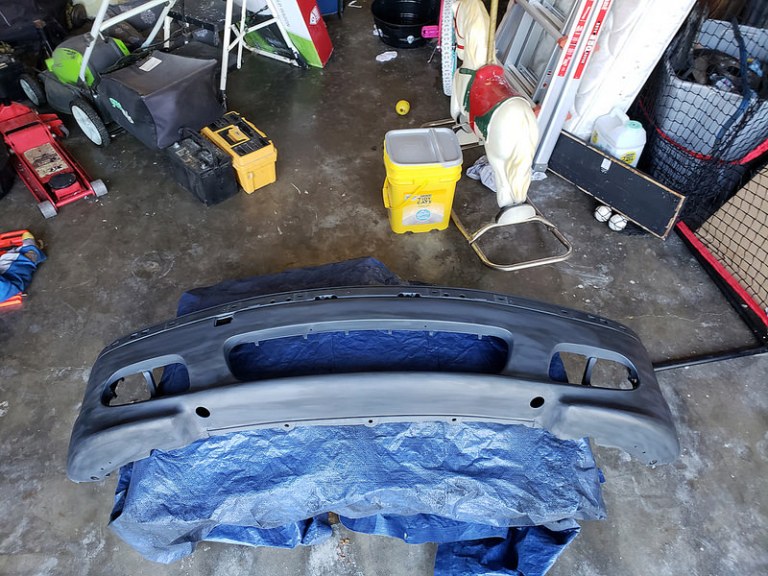
Post YouTube videos and Mighty Car Mods jokes later we began working on the bumper. We started off drilling holes around the crack in order to put it back in place and to stop the crack from further growing. While we heard Drift Stitches are a thing… we felt it unnecessary on the Wagon. Shortly after some JB Weld for plastic found itself on the bumper around the crack, and we got bondo to fill in the gashes on the bottom of the bumper and to fill in the scratches and rock chip holes on the front of the bumper. We had about 3 separate sessions of bondo fill and sanding before we got to sanding the entire bumper in prep for primer and paint. CFO Andrew made an appearance for this project as well and helped with the wet sanding and priming of the bumper.
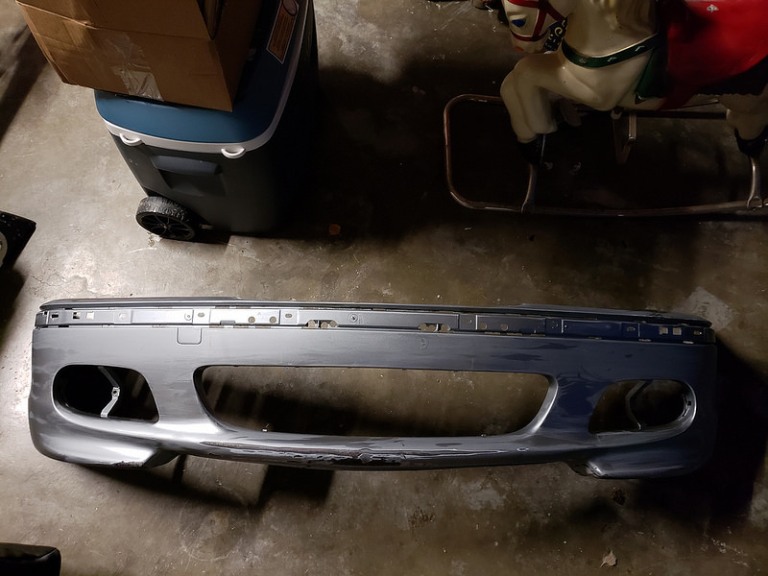
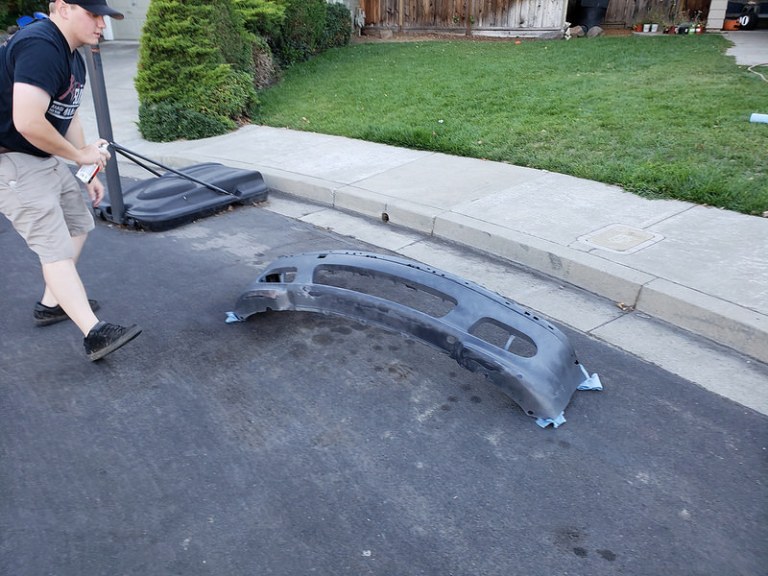
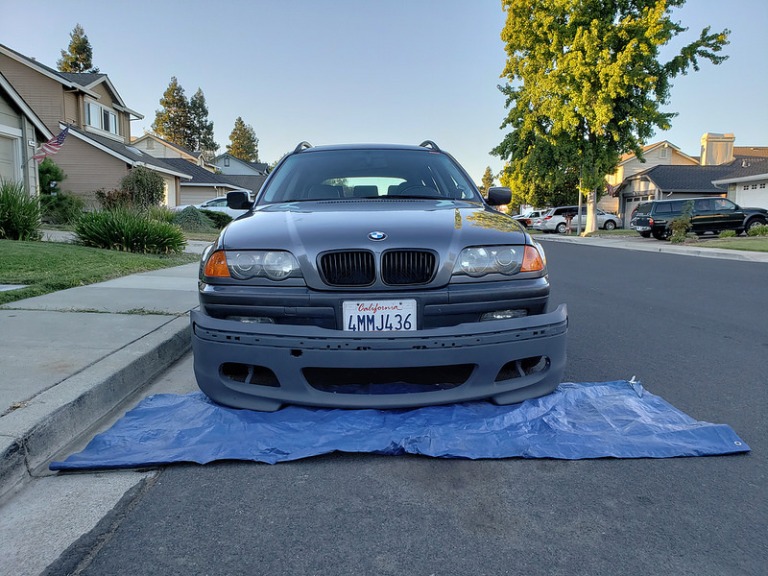
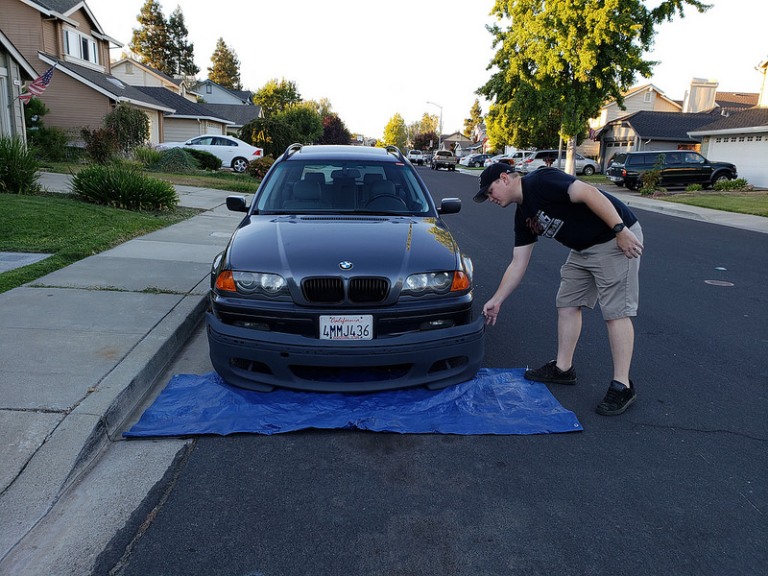
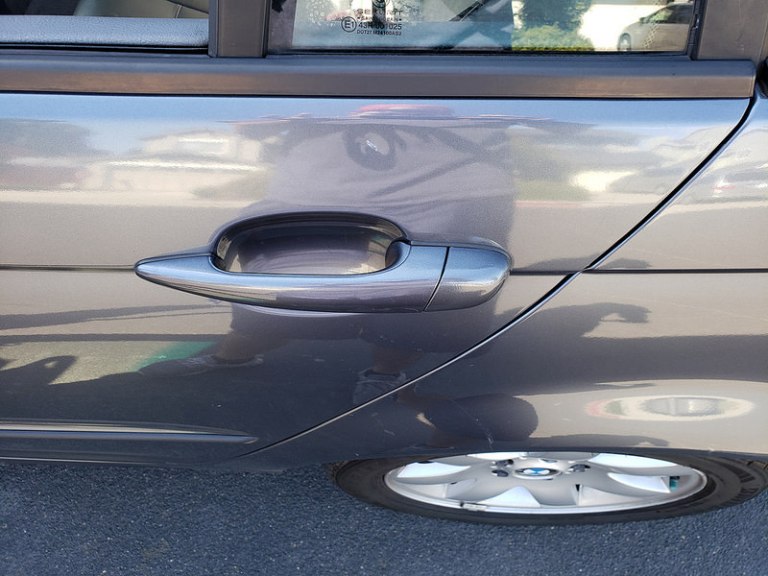
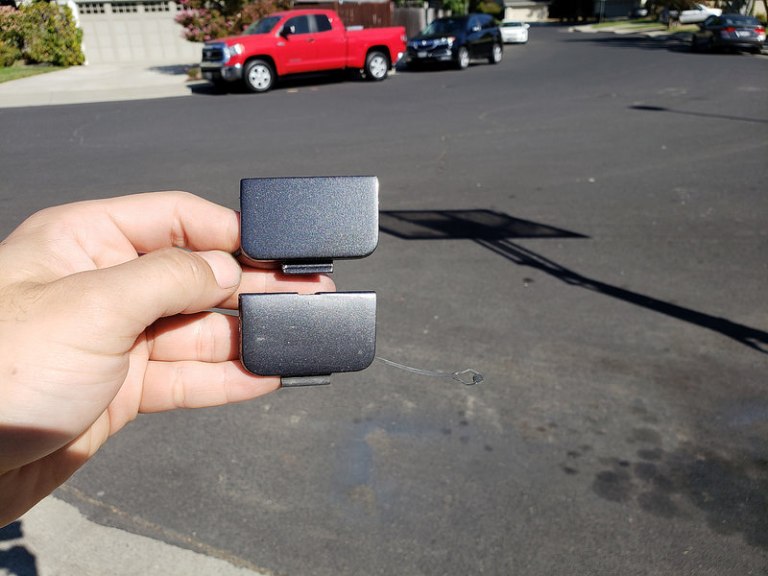
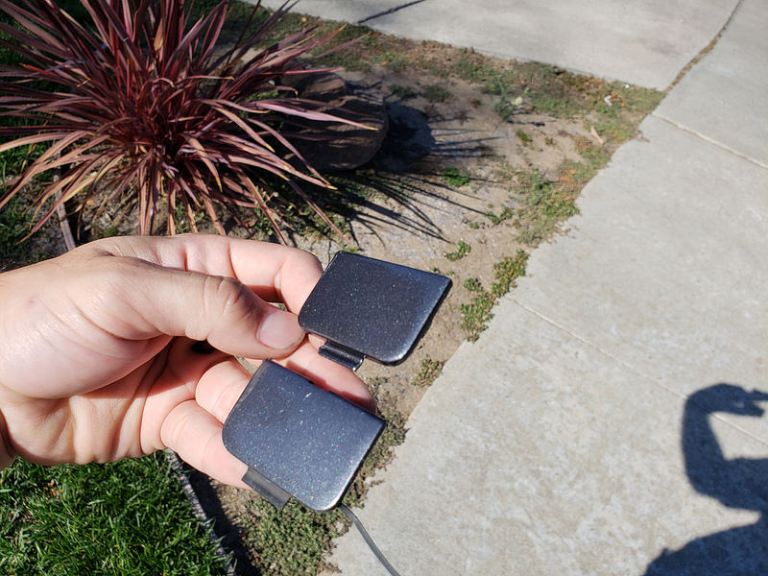
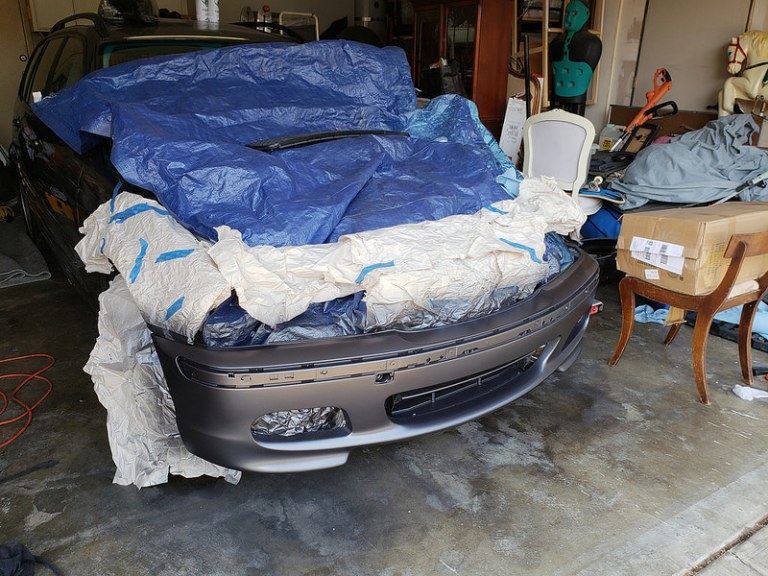
After the bumper was all filled and primed the project was put on a light hold as we waited for Base and Clear to arrive from ERA Paints in Oregon. ERA has tons of paint matched cans of spray paint for the E46, and possibly other BMW models and manufacturers, but we only cared about color code 400, Steel Grey Metallic. During the painting process we tested the paint on our rear door handle cover and the tow hook cover. Needless to say it looked tits. Sorry kids.
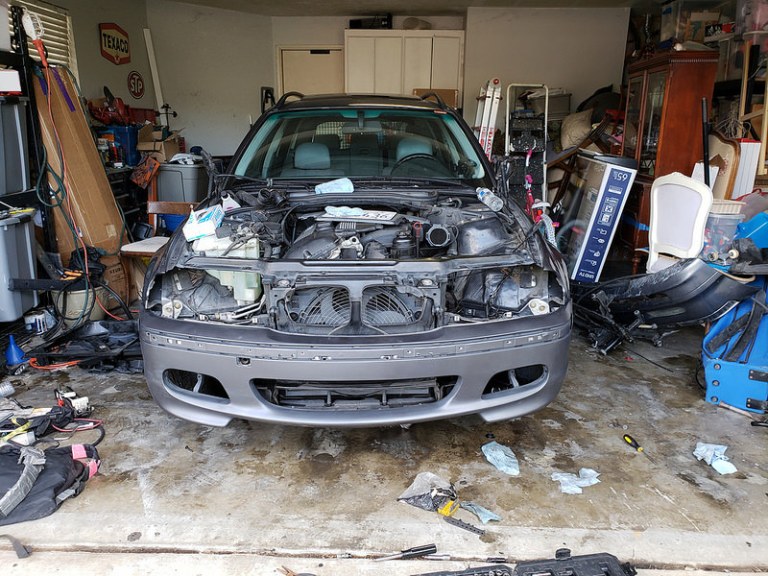
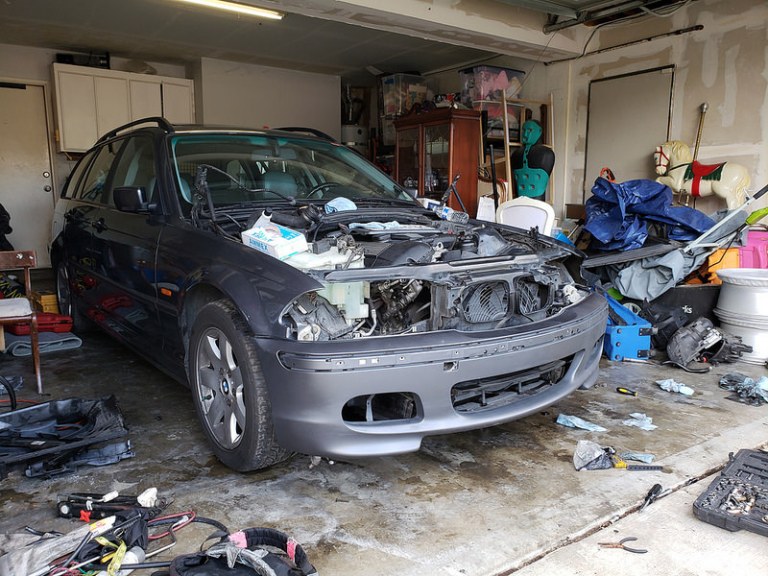
Fast forward to our cooling overhaul project, and 4 cans of spray paint later we finally got to finish up the project and get the clear on the bumper followed by some cut, buff and polishing.
Phase 1: JB Welding the broken bits and Wet Sanding using 180, 320, 400 and 600 grit

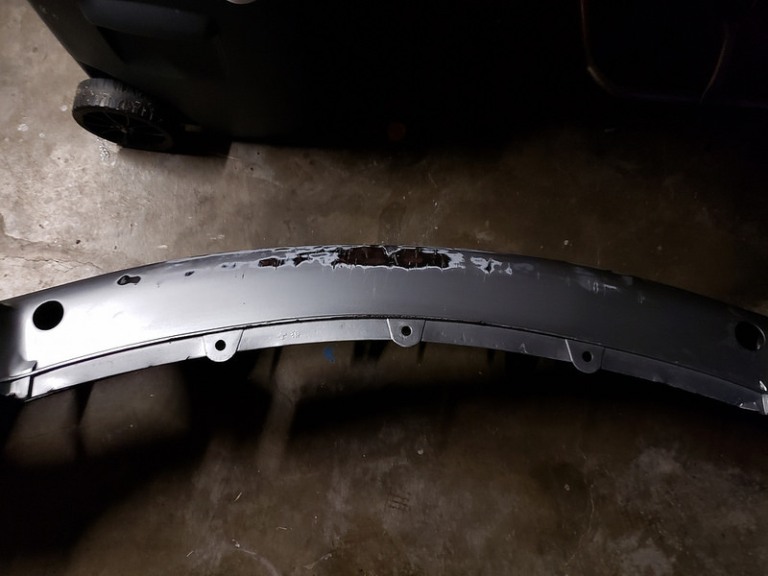
Phase 2: Applying Bondo layers and wet sanding down areas using 180, 320, 400 and 600 grit sandpaper
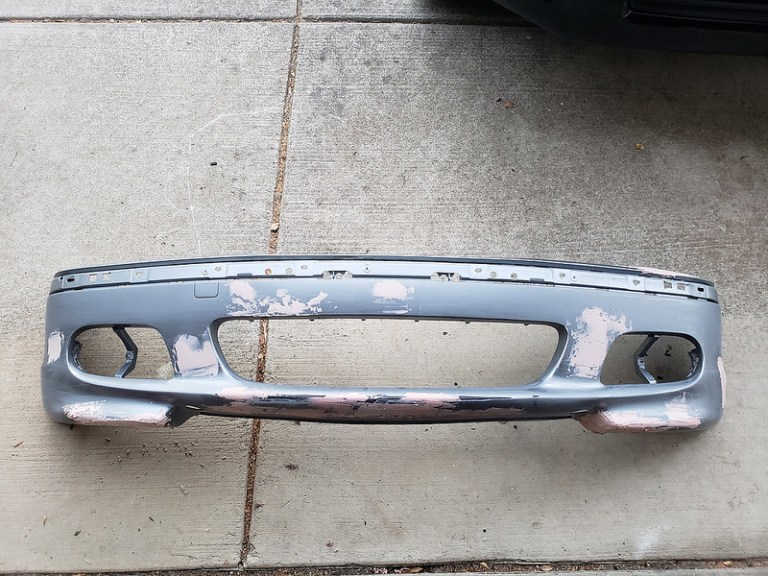
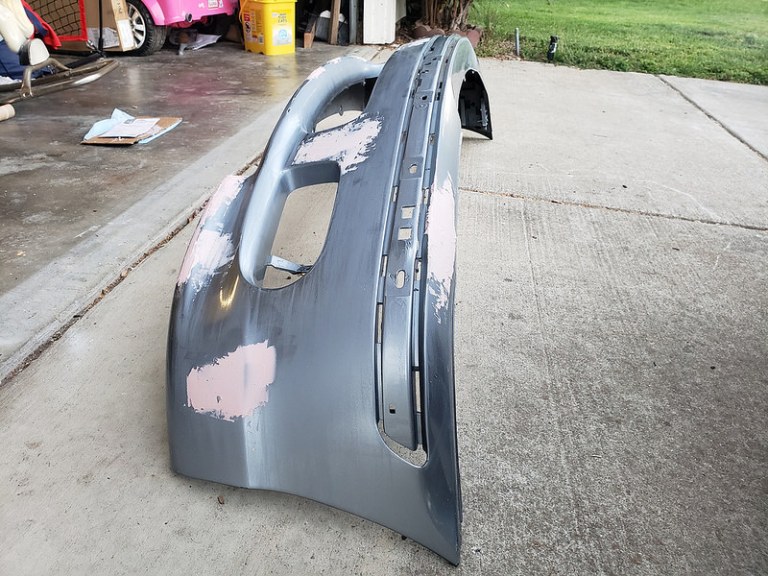
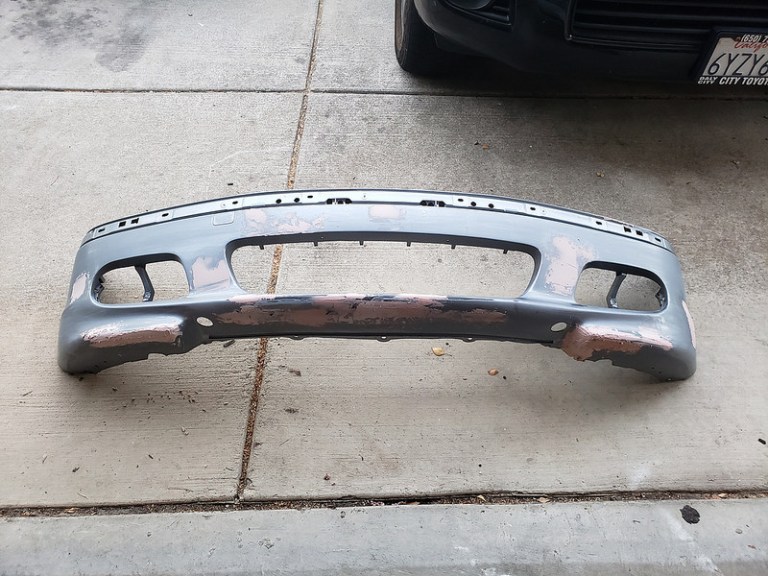
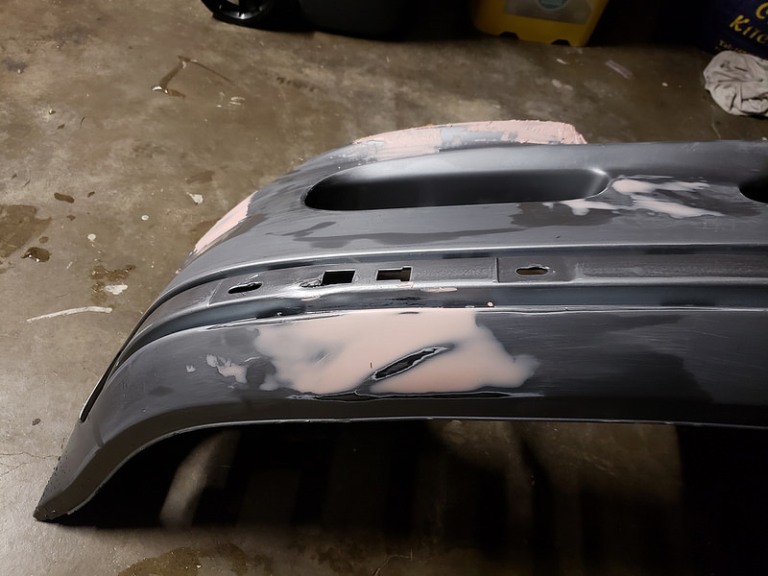
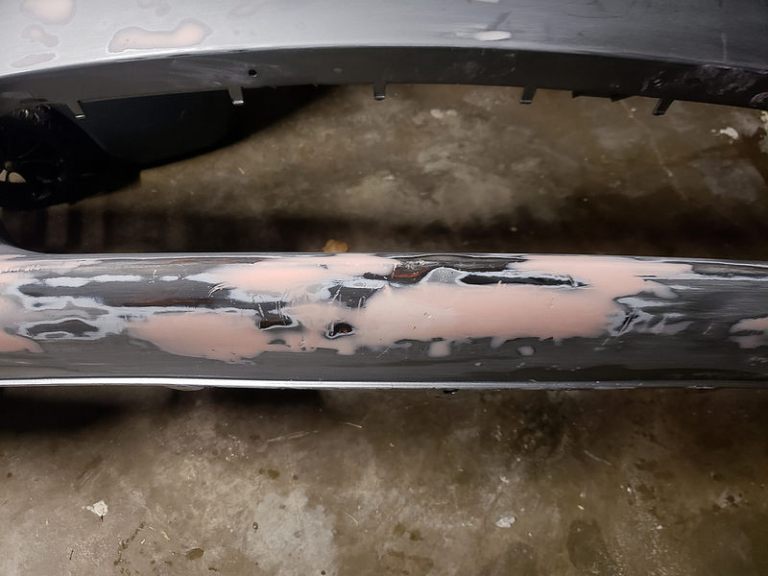

Phase 3: Filler Primer and Wet Sanding
Phase 4: Painting with color matched paint and stalling the project
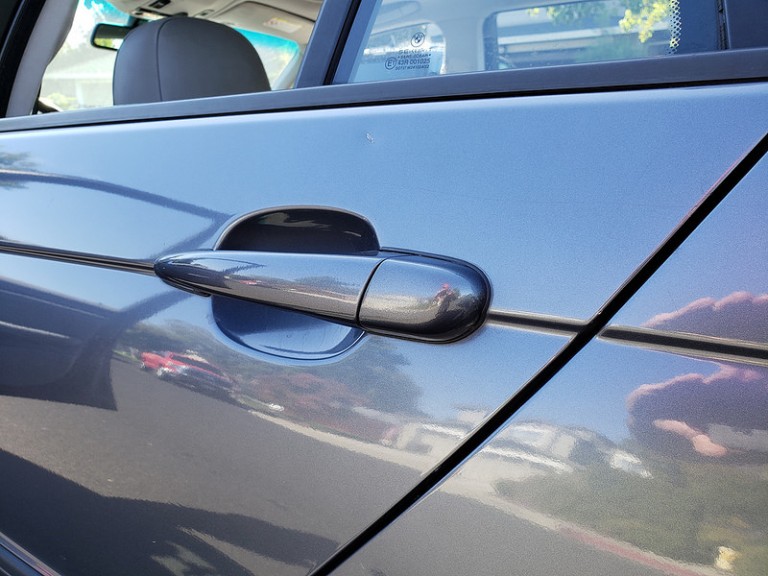
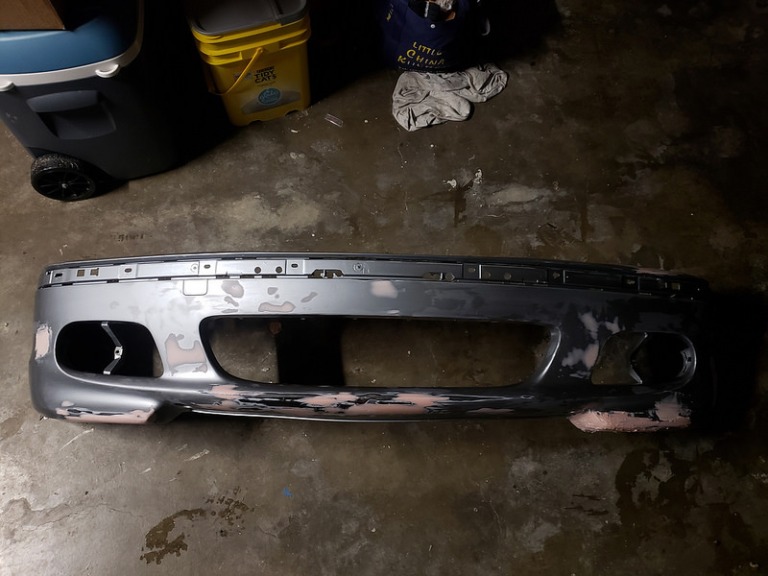
The one on top is the new paint and the one on bottom is the original paint

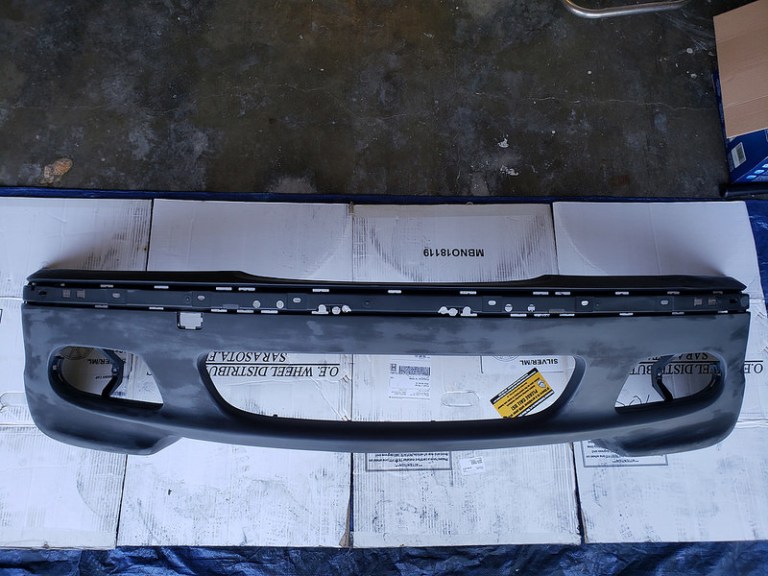
After getting a solid base of paint on the bumper this project halted from September until recently
Phase 5: Finishing the project. Paint, Clear, Sanding, Buff, Cut and Polishing
Again a very special thanks to Andrew Shultz for his assistance on this project and thanks to ERA Paints!
